A well-grown sun pitcher keeps adding growth points until the pot is crowded, and it flowers readily. The catch is that it resents root disturbance, and its pitchers and roots snap easily. Good Heliamphora propagation is mostly about timing and gentleness.
There are three routes. Division of a mature clump is the reliable one. Leaf pullings, often called leaf or pitcher cuttings, can turn spare leaves into plants, but slowly. Seed is slowest of all, yet it is the only way to raise new hybrids or many plants at once. This guide covers each method step by step, drawing on the International Carnivorous Plant Society (ICPS) growing guide, Carnivorous Plant Newsletter articles and growers who documented their results.
The Short Answer
Divide a Heliamphora when it has several growth points, the plant is at its peak and temperatures are low; the ICPS advises against dividing in late spring and summer if your plants get above 79 °F (26 °C). Wash the root ball in water, separate the clump at natural break points so every piece keeps a growing point, pot without air pockets, and bag the pieces for about a month if your humidity is below 85%.
Leaf pullings work best with small juvenile leaves pulled off with the whole leaf base, and the ICPS warns they can take “6 months to a year” to root and grow.
Seed needs hand pollination. Don Schnell, writing in Carnivorous Plant Newsletter, says pods ripen in 6 to 12 weeks and the seed needs no cold treatment. Sow it fresh on the surface; germination can start within weeks, but seedlings take years to make adult pitchers.
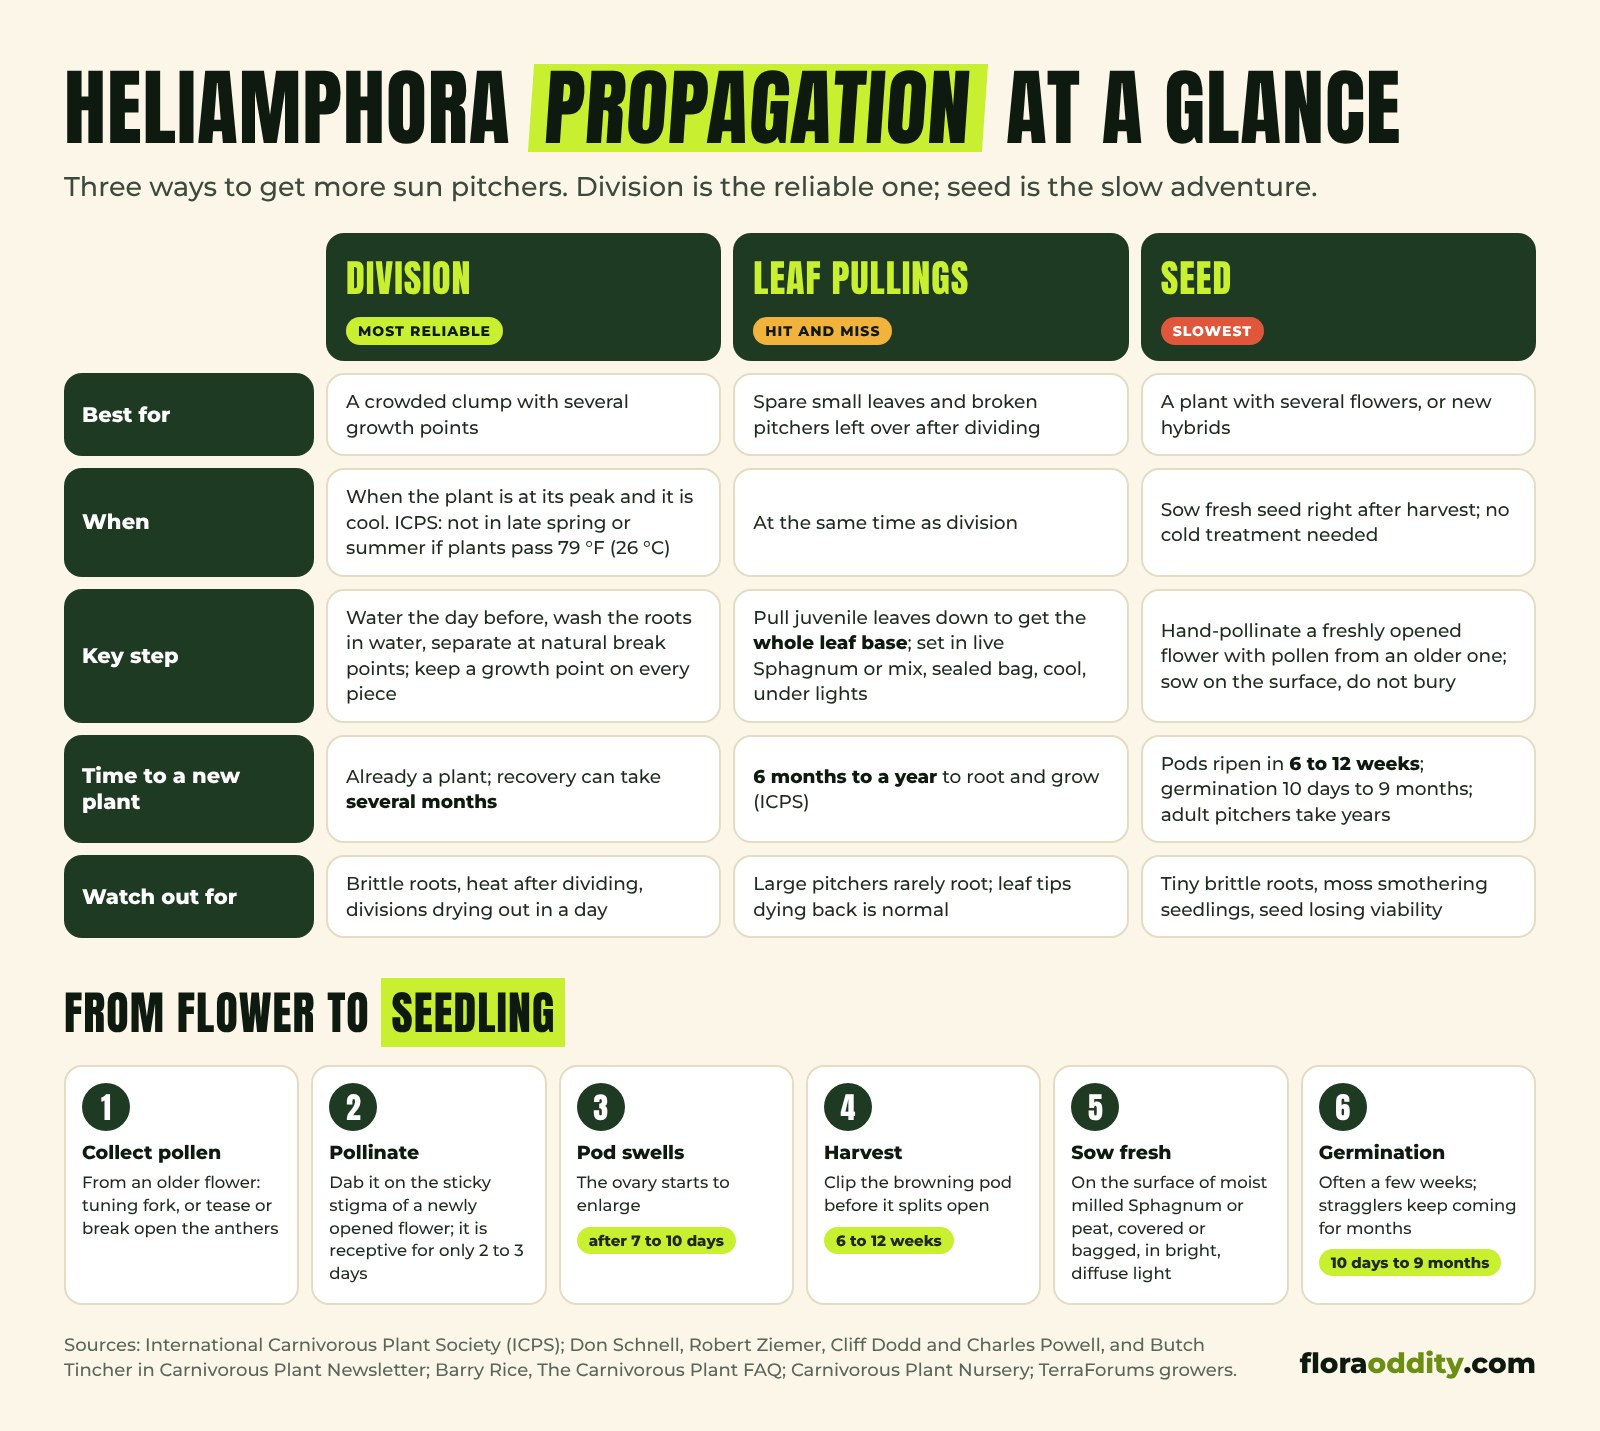
| Division | Leaf pullings | Seed | |
|---|---|---|---|
| Best for | A crowded clump with several growth points | Spare small leaves and broken pitchers after dividing | Flowering plants, new hybrids, many plants at once |
| When | Plant at its peak, temperatures low; avoid late spring and summer if plants exceed 79 °F (26 °C) | At the same time as division | Sow fresh, right after harvest |
| Key step | Separate at natural break points; keep a growth point on every piece | Pull juvenile leaves with the whole leaf base; sealed bag, cool, under lights | Hand-pollinate a new flower with pollen from an older one; surface sow |
| Time to a new plant | Immediate, but recovery can take several months | 6 months to a year to root and grow | Pods 6 to 12 weeks; germination 10 days to 9 months; years to adult pitchers |
| Main risks | Brittle roots, heat, divisions drying out | Large pitchers rarely root | Brittle seedling roots, moss overgrowth, old seed |
| Sources | ICPS, Butch Tincher (CPN), Carnivorous Plant Nursery | ICPS, Dodd and Powell (CPN) | Don Schnell, Robert Ziemer (CPN), ICPS, TerraForums growers |
Before You Start: Is Your Plant Ready?
Our Heliamphora care guide gives the short version; here are the details. A plant worth dividing is one that is growing well. The ICPS notes that healthy mature Heliamphora divide naturally, “especially when they bloom,” and calls division the point “where you see how well your soil mix and growing conditions are working.” If growth has stalled, fix conditions first with our Heliamphora problems guide.
A clump is ready when it has several distinct rosettes, each with its own growing point. Carnivorous Plant Nursery says the rhizomes “have a tendency to divide and frequently form clumps of plants.” Robert Ziemer, after seven years of growing three species in a cool northern Californian greenhouse, found that every 6 months or so mature plants could be separated “very easily by carefully breaking them apart.”
Young tissue-cultured plants are a special case: the ICPS says they “divide excessively until they get the hormones out of their system,” so many small growths do not yet make a mature clump.
Method 1: Dividing a Clump
When to divide
Timing matters more than technique. The ICPS calls division “a dangerous time for plants,” especially large ones, and recommends dividing when plants “are at their peak and temperatures are relatively low.” Barry Rice, author of the Carnivorous Plant FAQ, who grows plants warmer than they like, reports that a large plant many times responded to repotting “by dying,” while growers with cooler conditions had no such trouble. Check your summer readings with our climate checker first. The sources disagree on the season (see Where Sources Differ), but all point to a cool spell after dividing.
Step by step
- Prepare. The ICPS suggests an optional foliar feed the week before, and both the ICPS and Butch Tincher, writing in Carnivorous Plant Newsletter, water the plant well the day before, so everything is “hydrated and flexible as possible to limit damage.”
- Unpot and wash. Lay the pot on its side, brush away surface moss, and find the growth points. Tincher sets the root ball in a container of water, teases out the old mix and separates the plant “with the root mass submerged in water,” which protects the fine roots and shows which roots belong to which rosette. Carnivorous Plant Nursery warns that traps and roots “are very stiff and brittle.”
- Separate at natural break points. Tincher notes that some species “almost divide themselves,” while others form tight clumps around a central root mass. The ICPS checks whether the rhizome “wiggles at any point between growth points” and snaps or cuts it there; on a tight rhizome it uses pruning scissors on the older part, back from the growth points. Every piece needs a growing point. On difficult plants, Tincher says the best you may get is “a division with a good chunk of rhizome at its base,” which still roots well.
- Tidy up. Remove old leaves and trim broken ones (“you will break leaves,” the ICPS admits). Keep tiny rootless pieces and treat them like leaf pullings.
- Pot without air pockets. Tincher found that “Young divisions have little problem rooting into this mix” of equal parts aquatic plant soil, perlite and long-fibered Sphagnum. Sarracenia Northwest uses fresh live Sphagnum or long-fiber Sphagnum with perlite and keeps the crown at its old depth. The ICPS adds mix a little at a time and taps the pot on the bench rather than pressing with fingers, because “it is very important you do not leave air spaces under the plant,” then floods the pot a few times to settle it. Our soil mix calculator helps with proportions.
- Label and fill. If the division has adult pitchers, the ICPS fills them with pure water or very dilute fertilizer water (70 ppm).
Method 2: Leaf Pullings and Pitcher Cuttings
With Heliamphora, a “leaf cutting” is really a leaf pulling: you take the whole leaf, including its base where it joins the rhizome. None of the sources recommends cutting a pitcher off above its base. The ICPS says pullings “work best with juvenile leaves and small pitchers” and adds, “I have never been successful with large pitchers even if the tops are trimmed.”
- Choose small leaves, such as the young ones removed while dividing. The ICPS finds success high for some species and low for others.
- Pull the leaf down so you get “the whole base of the leaf.”
- Set it in moist medium: regular Heliamphora mix, 100% live Sphagnum, or live Sphagnum over mix.
- Seal the pot in a plastic bag under artificial light, “taking care to keep the pullings cool.”
- Wait. Leaf tips often die back; “What matters is what is under the soil or Sphagnum.” Rooting and growth take 6 months to a year.
Breakages during division need not be lost. Cliff Dodd and Charles Powell reported in Carnivorous Plant Newsletter that pitchers “accidentally broken off during division will root and produce plants if they are cleanly pulled from the rhizome and placed in live sphagnum,” and that it worked on a second species too. They saw it as potentially “one of the fastest ways to produce a large number of plants, especially in those species that may not produce offsets freely.” In a 2009 TerraForums thread, the grower Av8tor1 added that some pitchers and divisions with no roots “will survive if bagged to prevent desiccation.”
Method 3: Growing Heliamphora from Seed
How the flowers work
Heliamphora flowers have no nectar or scent and, according to Carnivorous Plant Nursery, “do not self pollinate naturally”; in the wild, buzzing bees shake the pollen loose. Rice writes that “Well-grown Heliamphora flower readily, but they must be pollinated manually.”
Don Schnell explains the timing problem in Carnivorous Plant Newsletter. The flowers are protogynous: the stigma, the sticky tip of the green style in the centre, is receptive before that flower’s own pollen is ripe, and within “a scant 2-3 days” it turns brown and stops being receptive. So you pollinate a newly opened flower with pollen from an older one. Schnell found that flowers on the same plant can be cross-pollinated, so one plant with several flowers is enough.
Hand pollination, step by step
- Collect pollen from an older flower. Schnell gently pulls several anthers open between thumb and forefinger and taps them on a fingertip to collect a little dust-like pollen. Rice says a tuning fork used to “rattle the pollen from the anthers” is the more widely used method. Ziemer found H. nutans anthers release pollen when teased with a small stick, while H. heterodoxa anthers had to be broken in half and twirled between the fingers.
- Pollinate a fresh flower quickly. As soon as its petal-like tepals spread, dab the pollen on the stigma, gently: Schnell warns that too much contact can damage it. Ziemer found the stigma receptive “for only a couple of days after the petals open.”
- Repeat as each new flower opens.
The TerraForums grower pokie22 warns not to cut away the petals under strong grow lights, because “Excessive light burns the developing flower.” Carnivorous Plant Nursery says cross pollination “frequently produces an abundance of seeds, compared to species pollination,” and the ICPS cautions that seed from a selfed clone probably gives less vigorous plants than the best tissue-cultured clones.
Seed pod timeline
Schnell says the ovary should start to swell within a week or ten days if pollination worked, and that pods mature in 6 to 12 weeks, turning from green to a dry brownish green before splitting at the seams. Clip the pod before it opens fully. A good pod holds plenty: pokie22 described a normal seed set as “100+ seeds.”
Sowing and germination
Sow promptly. Schnell writes that “Germination does not require preceding stratification.” Ziemer found that 31 of 35 fresh H. heterodoxa seeds germinated, and the TerraForums grower Maiden warned that germination “will dramatically decrease if you wait a couple months.”
Rice’s general advice for carnivorous plant seed applies: sprinkle it on the surface of a mature-plant mix, do not bury it, and keep the pot moist and bright. Ziemer sowed on the surface of sphagnum peat, covered the pot with a plastic bag and kept it in diffuse light. Growers in a 2012 TerraForums sowing project used long-fibered Sphagnum, some topped with milled Sphagnum and sand, with the pots standing in a little water.
Expect a long, uneven wait. Ziemer’s seeds began germinating within 6 weeks and kept coming for up to 9 months. Av8tor1 summed up the 2012 project: seed “can take anywhere from a few weeks to many months for germination, even among siblings.”
Raising seedlings
This is where most attempts fail. The ICPS says “Plants from seeds grow very slowly unless they are started in sterile culture.” Ziemer’s seedlings left on peat died within a year at less than 5 mm, those moved to live Sphagnum were “quickly over topped by the moss,” and after 2 years some were only 15 mm tall, with roots so brittle that “Even a drop of water can break it.”
Good conditions help. Dodd and Powell reported a 1 inch (2.5 cm) H. heterodoxa seedling producing “4 inch sub-adult pitchers” (about 10 cm) a year later in their humid aquarium set-up. Carnivorous Plant Nursery describes juvenile traps on plants aged about 1 to 3 years or more and adult traps from about 3 to 5 years or more. Keep moss off the seedlings and avoid moving them until they have real roots.
Aftercare for Divisions and Cuttings
The first weeks are the riskiest. Tincher explains that new divisions usually have damaged roots and lose more water than they take up, a process that “can occur in as little as a day” and leaves the plant shrivelled (see drying out).
- Bag the plant if your humidity is below 85%, says the ICPS, for “about a month or until it starts growing normally.” Keep the bag away from lamps and sun: “High temperatures in the bag will kill the plant.”
- Wean it slowly. Tincher keeps humidity high and airflow low at first, then cuts the bag’s corners or pokes holes in it “over a period of two to three weeks.”
- Use pure water. The ICPS recommends reverse osmosis water or very low-mineral tap water; check yours with our water checker.
- No soil fertilizer “until it is fully recovered and growing again,” says the ICPS. Tincher prefers a diluted fertilizer in the pitchers while divisions root; our feeding guide covers the options.
- Avoid soggy pots at first. The TerraForums grower klasac kept new divisions out of standing water for the first 3 to 4 weeks to avoid root rot, misting them often instead.
- Expect a pause. Carnivorous Plant Nursery says division “can set back plant growth for several months.” Do not keep moving the plant.
Tincher also soaks new divisions overnight in Trichoderma, a beneficial fungus; the ICPS lists it as optional and notes there are “no generally accepted guidelines” for such products. If a division wilts with browning leaf bases, see rot and decline after dividing.
How Heliamphora Propagation Compares with Its Relatives
Heliamphora is a close relative of Sarracenia, but propagation differs. The ICPS says dividing Sarracenia “is necessary every 3 or 4 years for well grown plants,” a routine job on a tough rhizome, while Heliamphora’s brittle roots and heat sensitivity make each division riskier. Rice says about four weeks of cold stratification is optimal for most Sarracenia seed; Heliamphora seed needs none.
Cephalotus is the closer match. The ICPS says Cephalotus crown divisions give new plants in less than 6 months, while leaf pullings, taken with the petiole intact, are “slower and less certain.” That mirrors Heliamphora, where pullings need the whole leaf base and take 6 months to a year. Cephalotus seed, however, needs about 59 °F (15 °C) for 6 to 10 weeks to germinate, per the ICPS. In all three genera, division is the dependable method and seed is for patient growers.
What Growers Report
These are single growers’ conditions and results from public posts and published articles, not rules.
- Dividing a crowded H. minor whose roots were growing through the surface, one grower washed the roots in distilled water, worked inward from the juvenile clumps at the edge, and wobbled pieces loose instead of using a knife. The plant gave “8 plants out of one,” and about two and a half weeks later the largest piece, kept as the “mother plant,” had made 3 to 4 new pitchers and the smaller divisions one new pitcher. (klasac, TerraForums, July 2009)
- Growing in a cool coastal greenhouse, one grower normally divided plants in early summer and found they were well established by fall. One year they divided in late fall instead: “Out of 50 divisions, only 7 survived the winter,” which they blamed on winter stresses in the greenhouse. (Robert Ziemer, Carnivorous Plant Newsletter, September 1979)
- One grower pollinated an H. folliculata flower on 15 August, harvested the seed on 29 October, sowed it two days later on milled long-fibered Sphagnum with a little aquatic plant soil and perlite, and saw the first germination 10 days after sowing. (pokie22, TerraForums, November 2014)
- In a 2012 group sowing of the same batch of H. folliculata seed, one grower sowed two pots of long-fibered Sphagnum under grow lights at about 64 to 65 °F (18 °C) by day, one bagged and one open. More than five weeks after sowing, the first seedling appeared, “in the pot that has been covered with a bag,” with nothing in the open pot. (Crissytal, TerraForums, April 2012)
Our takeaway: in these reports, gentle handling and humid, covered conditions brought success, and the worst loss came from dividing at the wrong time of year rather than from poor technique.
Where Sources Differ
| Topic | One view | Another view | Context the sources give |
|---|---|---|---|
| Season for dividing | Ziemer: early summer, after a fall division failed | A 2003 TerraForums reply: wait until winter, as plants dislike division in summer | The ICPS ties timing to temperature: divide when plants are at their peak and conditions are cool; avoid late spring and summer if plants exceed 79 °F (26 °C) |
| Knife or hands | One 2003 TerraForums grower: cut off growth points with a sharp knife | klasac: never use a knife, wobble pieces loose | The ICPS snaps the rhizome where it wiggles and uses pruning scissors only on tight clumps |
| Seed temperature | Ziemer: covered pot in a cool greenhouse | amphirion (TerraForums, 2012): had heard of germination in as little as 2 to 3 weeks at 83 to 85 °F (28 to 29 °C) for several species, while the same species took about a month and a half under that grower’s highland conditions | Single growers’ results; Schnell and the ICPS give no germination temperature |
| Old seed | Maiden (TerraForums): sow fresh, germination drops after a couple of months | BigBella (TerraForums): soaking older seed in gibberellic acid (GA3) improved that grower’s germination by about 25% | Both are single growers’ reports, not tested methods |
Common Mistakes
- Dividing in summer heat, or just before a stressful season, as Ziemer’s fall losses show.
- Cutting through the middle of a clump. Work from the edges and along natural break points so every piece keeps roots and a growing point.
- Pressing the mix down. Tap and flood the pot instead.
- Cutting the top off a pitcher as a cutting. Pull juvenile leaves with their whole base; large pitchers rarely root even when trimmed.
- Burying seed or waiting to sow it. Sow fresh seed on the surface and give it months, not weeks.
- Leaving bags in the sun or under hot lamps. Heat in the bag kills the plant.
FAQ: Heliamphora Propagation
What is the easiest way to propagate Heliamphora?
Division of a mature clump with several growth points, done when temperatures are low.
Can you propagate Heliamphora from leaf cuttings?
Yes, as leaf pullings: juvenile leaves pulled off with the whole leaf base, rooted in a sealed bag. The ICPS says they take 6 months to a year, and large pitchers rarely succeed.
How long do Heliamphora seeds take to germinate?
From about 10 days to 9 months. Ziemer saw germination begin within 6 weeks and continue for up to 9 months; fresh seed does best.
Do Heliamphora seeds need cold stratification?
No. Schnell writes that germination “does not require preceding stratification,” unlike Sarracenia seed.
How long after dividing will my Heliamphora start growing again?
Some TerraForums growers report new pitchers within 2 to 3 weeks, but Carnivorous Plant Nursery says division can set growth back for several months.
The Bottom Line
Heliamphora propagation rewards patience more than skill. Divide a crowded, healthy clump at a cool time of year, keep its brittle roots wet while you work, and bag the pieces until they grow again. Use leaf pullings for spare juvenile leaves and accidental breakages, knowing that they may take a year. If your plants flower, hand-pollinate a fresh flower with pollen from an older one, sow the seed at once, and treat any seedlings that come up as a long-term project.
Sources & Further Reading
- International Carnivorous Plant Society: Growing Heliamphora (John Brittnacher, 2013)
- International Carnivorous Plant Society: Growing Cephalotus
- International Carnivorous Plant Society: Growing Sarracenia
- Barry Rice, The Carnivorous Plant FAQ: Heliamphora cultivation
- Barry Rice, The Carnivorous Plant FAQ: How do I stimulate seeds to germinate?
- Don Schnell: Pollination of Heliamphoras, Carnivorous Plant Newsletter 24(1), 1995
- Robert R. Ziemer: Some personal observations on cultivating the Heliamphora, Carnivorous Plant Newsletter 8(3), 1979
- Cliff Dodd and Charles Powell: A practical method for cultivation of Heliamphora spp., Carnivorous Plant Newsletter 17(2), 1988
- Butch Tincher: My techniques for the indoor cultivation of Heliamphora, Carnivorous Plant Newsletter 42(4), 2013
- Carnivorous Plant Nursery: Heliamphora (Sun Pitchers)
- Carnivorous Plant Nursery: Growing Tips for Heliamphora
- Sarracenia Northwest: How to Grow Heliamphora
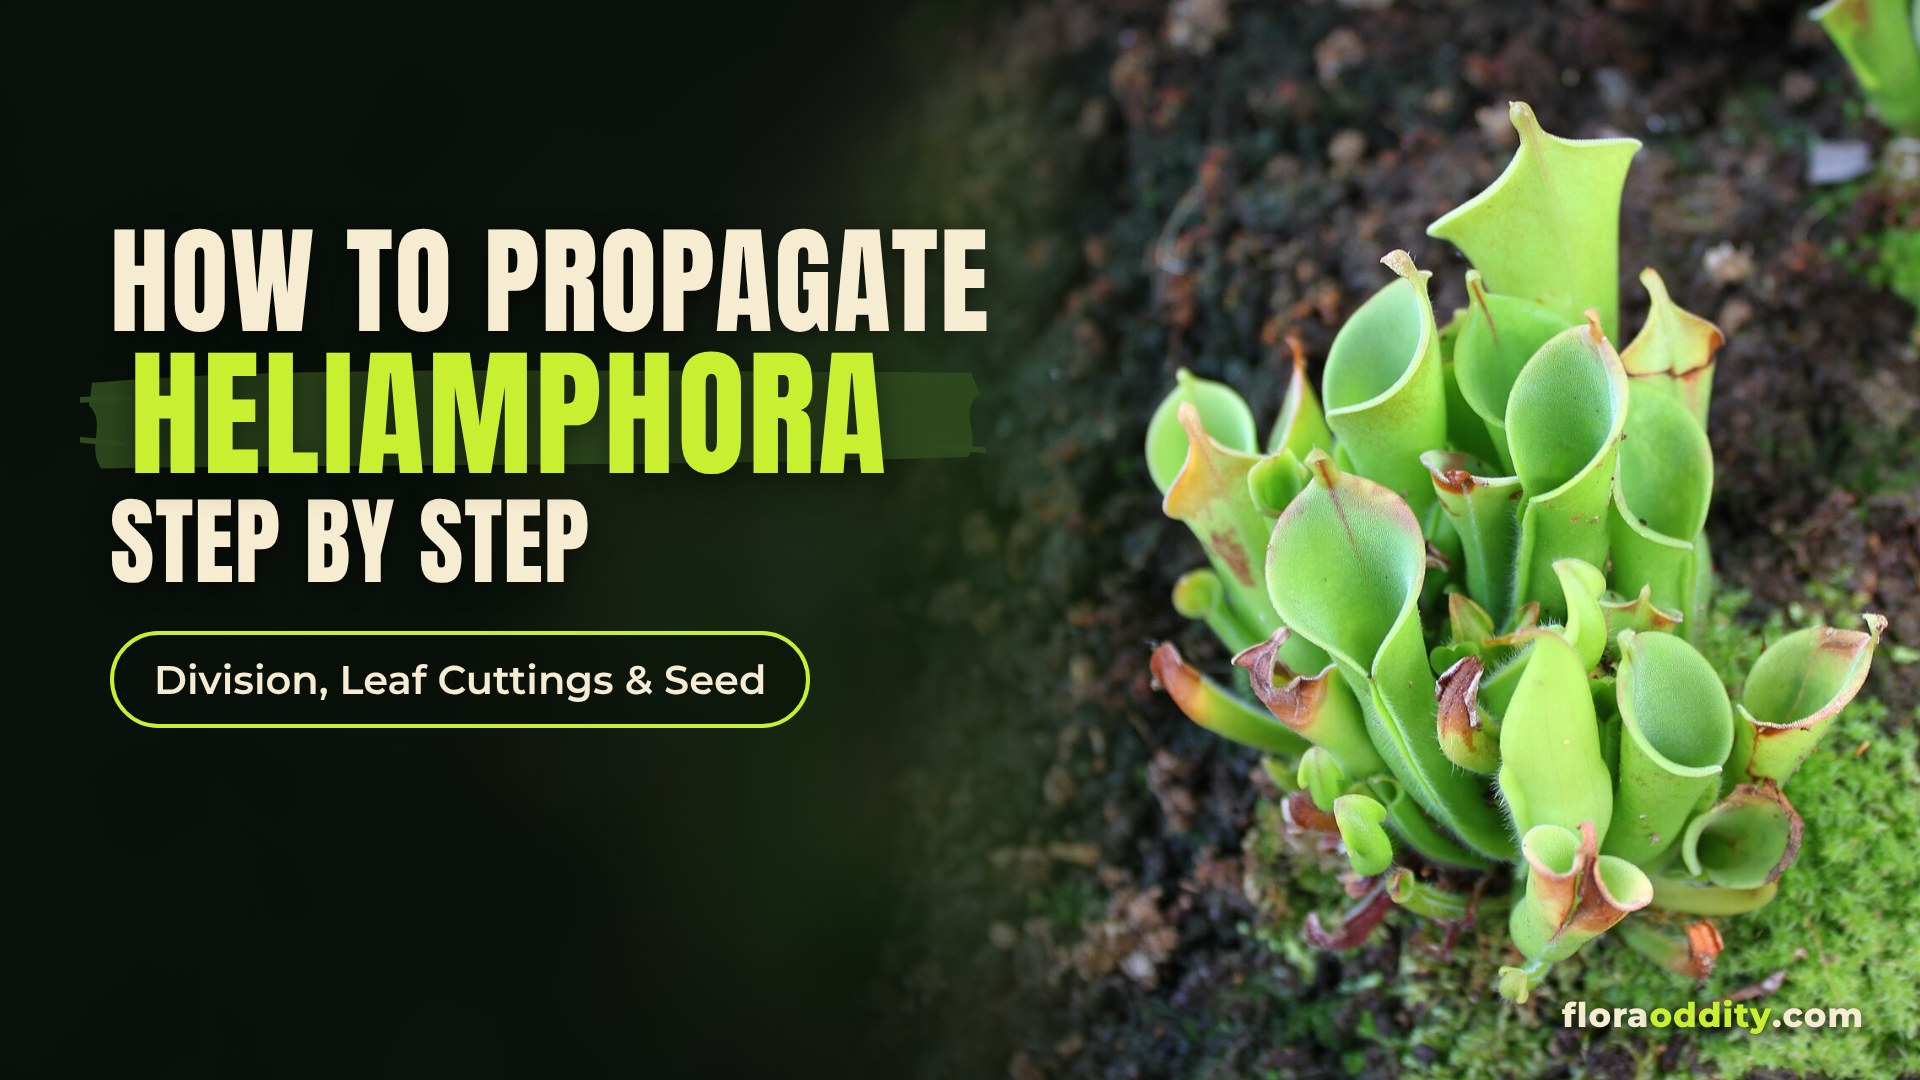
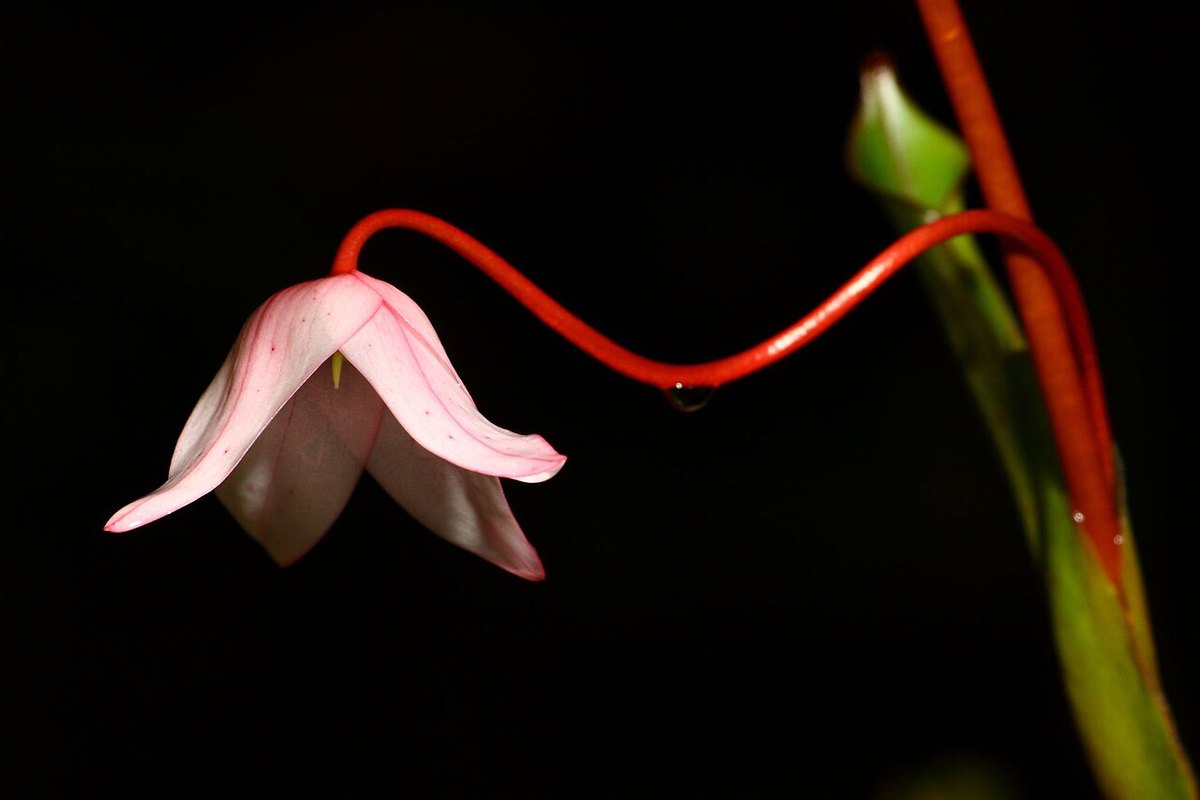
Featured image based on a photo of Heliamphora heterodoxa x minor by Falconaumanni via Wikimedia Commons, CC BY-SA 3.0, cropped with a dark gradient and typography added by FloraOddity; the adapted image is offered under the same licence.
Final articles are editorially reviewed and factual claims are checked against cited sources. Last reviewed: October 2026.